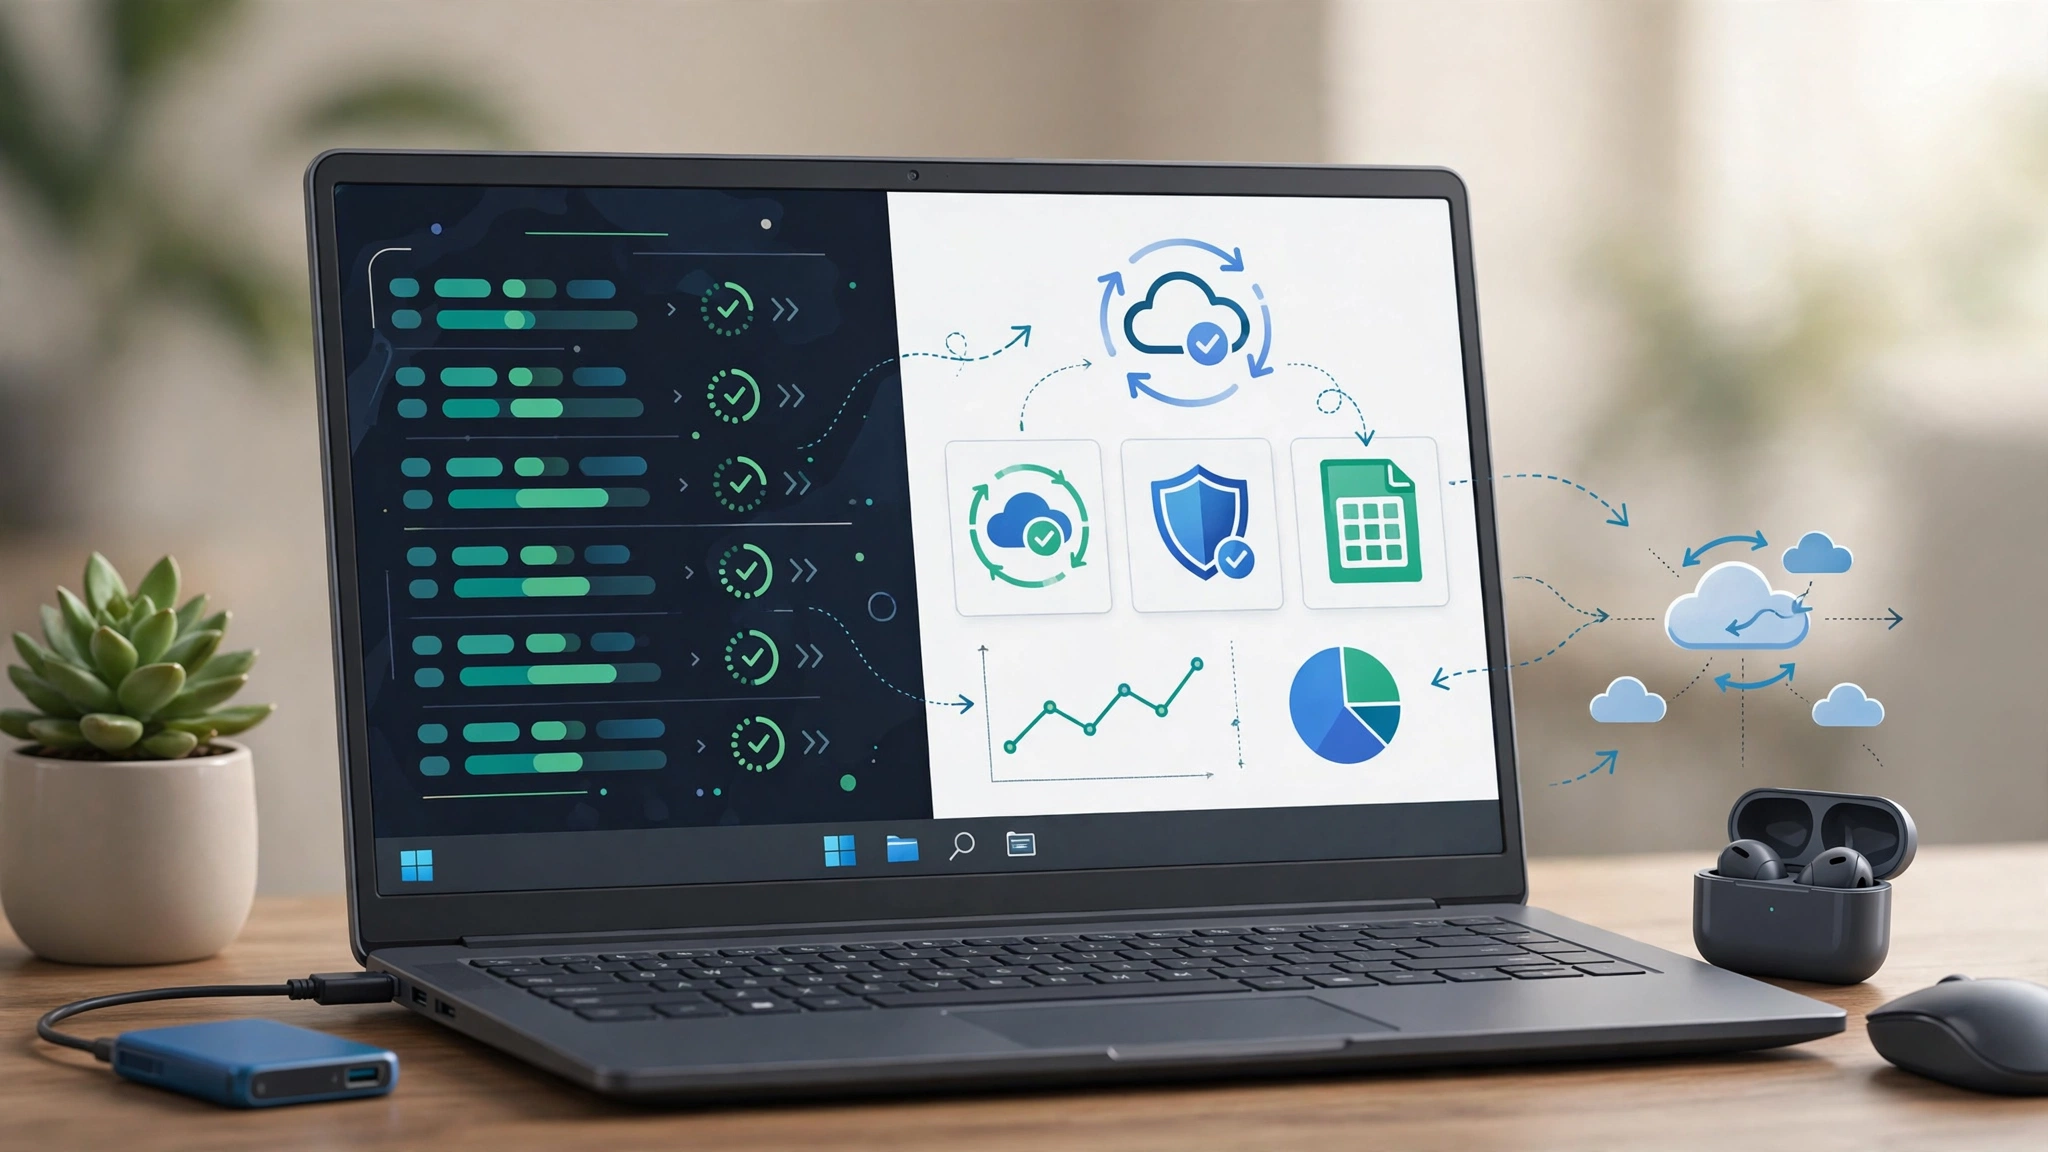
Tag: cloud backup

  • Windows 11 Backup Monitoring with PowerShell and Google Sheets API

    Windows 11 Backup Monitoring with PowerShell and Google Sheets API

    A backup is only useful if you know whether it actually ran.

    Windows can copy files to another drive, a NAS, or cloud storage, but it is also useful to keep a simple record of each backup: when it ran, which files were processed, whether verification succeeded, and whether anything failed.

    Google Sheets can work well as that backup log.

    It should not be treated as the place where you store your actual backup files. Instead, PowerShell can perform or inspect your backup process and then send status information to a Google Sheet through the Google Sheets API.

    This guide shows how to build a simple Windows 11 backup monitoring workflow with PowerShell and Google Sheets.

    First: Google Sheets Is Not the Backup Destination

    This distinction is important.

    A real backup should create an independent copy of your important files.

    That copy might live on:

    • an external HDD or SSD;
    • a NAS;
    • another computer;
    • approved cloud storage;
    • a dedicated backup service.

    Google Sheets can then record information about that process.

    Example Architecture

    Important Files
          ↓
    Backup Script / Backup Tool
          ↓
    External Drive / NAS / Cloud Storage
          ↓
    Verification
          ↓
    Google Sheets Backup Log

    This gives you two different things:

    • backup storage: where the recoverable copy exists;
    • backup monitoring: where status and verification information is recorded.

    What Should the Google Sheet Record?

    A useful backup log can contain fields such as:

    • timestamp;
    • computer name;
    • source path;
    • destination path;
    • file size;
    • SHA-256 hash where useful;
    • backup status;
    • verification status;
    • error message;
    • duration.

    This makes the Sheet a lightweight monitoring dashboard instead of pretending that spreadsheet rows are the backup itself.

    What You Need

    A basic setup requires:

    • Windows 11;
    • PowerShell;
    • a Google account;
    • a Google Cloud project;
    • the Google Sheets API enabled;
    • a spreadsheet for backup logs;
    • a real backup destination.

    WSL2 is not required for this workflow.

    PowerShell alone is enough for file inspection, hashing, scheduled tasks, and REST API requests.

    Do You Need PowerShell 7?

    PowerShell 7 is a good choice for new automation projects, but it is inaccurate to say that Windows PowerShell 5.1 cannot use Invoke-RestMethod or handle JSON.

    Invoke-RestMethod has existed since earlier Windows PowerShell releases and supports REST requests and JSON responses. :contentReference[oaicite:2]{index=2}

    For a new script, using a current supported PowerShell release is still sensible because it receives newer fixes and features.

    Step 1: Create the Google Sheet

    Create a spreadsheet specifically for backup monitoring.

    For example, create a sheet named:

    BackupLog

    Add these columns:

    Timestamp
    Hostname
    SourcePath
    DestinationPath
    FileSizeBytes
    SHA256
    BackupStatus
    VerificationStatus
    DurationMs
    Error

    You can add more columns later if your workflow becomes more sophisticated.

    Step 2: Create a Google Cloud Project

    Open Google Cloud Console and create or select a project.

    Enable:

    Google Sheets API

    You do not need to enable unrelated APIs simply because the workflow uses OAuth.

    Step 3: Create OAuth Credentials

    For a script that acts on behalf of a user, create an OAuth client appropriate for a desktop application.

    Google’s current OAuth documentation supports the loopback IP flow for Windows desktop applications. A desktop application can listen on a local address such as:

    http://127.0.0.1:RANDOM_PORT

    The application then receives the authorization response locally. Google recommends using the system browser for this flow. :contentReference[oaicite:3]{index=3}

    Do not use the old manual copy-and-paste OAuth flow. Google documents that method as deprecated and unsupported. :contentReference[oaicite:4]{index=4}

    Service Account or User OAuth?

    The draft version of this guide said service accounts must never be used. That is too absolute.

    Both approaches can be valid.

    User OAuth

    This is useful when:

    • the Sheet belongs to a specific user;
    • the script should operate using that user’s authorization;
    • interactive authorization is acceptable during initial setup.

    Service Account

    This may be appropriate for controlled server-side or organizational automation where the spreadsheet is explicitly shared with the service account.

    The correct choice depends on ownership, deployment architecture, and access-control requirements.

    Step 4: Use the Minimum OAuth Scope

    If the script only needs to read and write spreadsheet content, the Google Sheets scope is typically sufficient:

    https://www.googleapis.com/auth/spreadsheets

    Avoid requesting broader Google Drive or account scopes unless your workflow actually needs them.

    Step 5: Create a Real Backup Before Logging Anything

    For demonstration purposes, imagine we want to copy:

    C:\Users\YourName\Documents\Research

    to:

    E:\Backups\Research

    You could use an existing backup tool or a Windows utility such as Robocopy.

    For example:

    robocopy "C:\Users\YourName\Documents\Research" "E:\Backups\Research" /E /COPY:DAT /DCOPY:T

    Do not blindly copy this command into an important production workflow.

    Read the current Robocopy documentation and test against disposable files first, especially before adding options that delete or mirror destination content.

    Step 6: Collect Backup Metadata With PowerShell

    After the backup runs, PowerShell can collect information that will later be sent to Google Sheets.

    For a single file:

    $sourcePath = "C:\Users\YourName\Documents\example.txt"
    
    $file = Get-Item $sourcePath
    
    $hash = Get-FileHash `
        -Path $sourcePath `
        -Algorithm SHA256
    
    $row = @(
        (Get-Date).ToUniversalTime().ToString("o"),
        $env:COMPUTERNAME,
        $sourcePath,
        "E:\Backups\example.txt",
        $file.Length,
        $hash.Hash,
        "Success",
        "Pending",
        0,
        ""
    )

    This creates metadata.

    It does not create the backup itself.

    Step 7: Verify the Backup

    Logging Success simply because the copy command finished is not enough for important files.

    You can perform a basic verification by comparing source and destination hashes.

    $sourceHash = (Get-FileHash `
        -Path $sourcePath `
        -Algorithm SHA256).Hash
    
    $destinationHash = (Get-FileHash `
        -Path $destinationPath `
        -Algorithm SHA256).Hash
    
    if ($sourceHash -eq $destinationHash) {
        $verification = "Verified"
    }
    else {
        $verification = "Mismatch"
    }

    A matching hash indicates that the two files contained the same bytes when they were hashed.

    It does not prove that your entire backup strategy is healthy or that the storage device will remain reliable indefinitely.

    Step 8: Append a Row to Google Sheets

    The Google Sheets API supports appending values to the end of an existing table using:

    spreadsheets.values.append

    The request body contains a two-dimensional values array. :contentReference[oaicite:5]{index=5}

    A simplified PowerShell request can look like:

    $spreadsheetId = "YOUR_SPREADSHEET_ID"
    $range = "BackupLog!A:J"
    
    $body = @{
        values = @(
            @(
                (Get-Date).ToUniversalTime().ToString("o"),
                $env:COMPUTERNAME,
                $sourcePath,
                $destinationPath,
                $file.Length,
                $sourceHash,
                "Success",
                $verification,
                $durationMs,
                ""
            )
        )
    } | ConvertTo-Json -Depth 5
    
    $headers = @{
        Authorization = "Bearer $accessToken"
    }
    
    $uri = "https://sheets.googleapis.com/v4/spreadsheets/$spreadsheetId/values/$range`:append?valueInputOption=RAW&insertDataOption=INSERT_ROWS"
    
    Invoke-RestMethod `
        -Uri $uri `
        -Method Post `
        -Headers $headers `
        -ContentType "application/json" `
        -Body $body

    Google currently documents INSERT_ROWS as an option when appending values to a table. :contentReference[oaicite:6]{index=6}

    Why Use RAW Instead of USER_ENTERED?

    For a machine-generated audit log, RAW is often easier to reason about.

    It reduces the chance that Google Sheets interprets values as formulas, dates, percentages, or other user-entered formats.

    You can still format the columns in the spreadsheet itself.

    Step 9: Handle OAuth Tokens Correctly

    OAuth access tokens are temporary.

    A long-running scheduled workflow needs a supported refresh process rather than assuming one access token will work indefinitely.

    Google’s desktop OAuth flow can return both access and refresh tokens after the authorization code is exchanged. :contentReference[oaicite:7]{index=7}

    Store refresh credentials securely and do not:

    • commit them to Git;
    • embed them directly in published scripts;
    • store them in the Google Sheet;
    • send them to logging or notification systems.

    Important Correction About Refresh Tokens

    A refresh token is not normally invalidated simply because you used it once.

    The original draft’s statement that Google invalidates a refresh token after its first use was incorrect.

    A refresh token may become invalid for other reasons, such as revocation or account/security changes.

    Step 10: Protect Local Credentials

    Credential protection on Windows can be implemented in several ways depending on the scale and environment.

    Possible options include:

    • Windows-protected credential storage;
    • Windows Credential Manager;
    • PowerShell SecretManagement;
    • an enterprise secrets manager;
    • a protected configuration owned by the scheduled-task identity.

    Avoid presenting one encryption snippet as universally secure without explaining its certificate, identity, and recovery requirements.

    Step 11: Schedule the Script

    Once the script works manually, schedule it with Windows Task Scheduler.

    You can create a basic task through the Task Scheduler GUI or PowerShell.

    Example:

    $action = New-ScheduledTaskAction `
        -Execute "pwsh.exe" `
        -Argument '-NoProfile -File "C:\Scripts\backup-monitor.ps1"'
    
    $trigger = New-ScheduledTaskTrigger `
        -Daily `
        -At 2:00AM
    
    $settings = New-ScheduledTaskSettingsSet `
        -StartWhenAvailable
    
    Register-ScheduledTask `
        -TaskName "Backup Monitor" `
        -Action $action `
        -Trigger $trigger `
        -Settings $settings

    Test the task manually after creating it.

    Do not assume a scheduled task works simply because registration succeeded.

    Step 12: Keep a Local Log Too

    Google Sheets should not be the only place where errors are recorded.

    If internet access is unavailable, the API cannot receive the failure log.

    Maintain a local log such as:

    C:\ProgramData\BackupMonitor\backup.log

    Record information such as:

    • start time;
    • end time;
    • backup exit code;
    • verification result;
    • Google API result;
    • errors.

    Step 13: Queue Google Sheets Updates When Offline

    A useful improvement is to separate the backup operation from remote logging.

    For example:

    Backup completes
          ↓
    Write event to local JSON queue
          ↓
    Internet available?
       ↙             ↘
     No              Yes
     ↓                ↓
    Keep queue    Send to Sheets
                      ↓
                 Remove queued item

    This prevents a Google API outage from causing the actual backup process to fail.

    Step 14: Watch for Google Sheets API Quotas

    Do not send one API request for every individual file if thousands of files are involved.

    Batch or summarize where practical.

    As of the current Google documentation, Sheets API quotas include:

    • 300 read requests per minute per project;
    • 60 read requests per minute per user per project;
    • 300 write requests per minute per project;
    • 60 write requests per minute per user per project.

    Google also states that requests within the per-minute quota currently have no daily request limit, although its pricing documentation notes that the model may evolve. :contentReference[oaicite:8]{index=8}

    Handle HTTP 429 Correctly

    If quota is exceeded, Google recommends exponential backoff rather than immediately retrying in a tight loop. :contentReference[oaicite:9]{index=9}

    The retry logic should also stop after a reasonable number of attempts.

    Step 15: Do Not Log Every Full File Path by Default

    File paths themselves can reveal sensitive information.

    For example:

    C:\Users\Alice\Clients\Acquisition-Target-X\Legal\...

    could reveal confidential information even though the actual document was never uploaded.

    Consider logging:

    • a relative path;
    • a project identifier;
    • a sanitized label;
    • only the parent category.

    Choose the minimum metadata required for monitoring.

    Step 16: Be Careful With Hashes

    SHA-256 hashes are useful for file-integrity comparison.

    But calling hashes inherently harmless or anonymous is too broad.

    A hash can still reveal useful information when an attacker already possesses candidate files and compares their hashes.

    Treat hashes as operational metadata and apply appropriate access control.

    Step 17: Create a Simple Dashboard

    Once the log contains enough entries, Google Sheets can display useful status information.

    Examples:

    • last successful backup;
    • failed backup count;
    • unverified files;
    • last run by computer;
    • backup duration trends.

    Conditional formatting can highlight failures without adding more automation infrastructure.

    Step 18: Alert Only When Something Needs Attention

    Instead of notifying users after every successful run, alert on meaningful conditions.

    For example:

    • backup failed;
    • destination is unavailable;
    • hash verification failed;
    • backup has not succeeded for a defined period;
    • Google logging has been offline for several runs.

    This reduces alert fatigue.

    Step 19: Separate Backup Failure From Logging Failure

    These are different problems.

    For example:

    Backup: SUCCESS
    Google Sheets Log: FAILED

    does not mean your files were not backed up.

    Likewise:

    Backup: FAILED
    Google Sheets Log: SUCCESS

    means the monitoring system worked—but the backup itself did not.

    Store both statuses separately.

    Step 20: Test Recovery

    A monitoring dashboard can tell you that files were copied and hashes matched.

    It still does not prove that you can recover your data during a real failure.

    Periodically restore a non-critical file from the backup destination.

    Confirm that:

    • the file exists;
    • you can access it;
    • it opens correctly;
    • you understand the recovery process.

    Recovery testing is more valuable than a spreadsheet filled with green “Success” rows.

    A Better Overall Architecture

    Windows Files
         ↓
    Backup Engine
         ↓
    Independent Backup Destination
         ↓
    Verification
         ↓
    Local Audit Log
         ↓
    Queue
         ↓
    Google Sheets API
         ↓
    Monitoring Dashboard / Alerts

    This architecture avoids making Google Sheets a dependency for the actual backup.

    What Google Sheets Is Good At Here

    • small-scale status tracking;
    • human-readable logs;
    • simple dashboards;
    • collaborative monitoring;
    • lightweight alerting workflows;
    • proof that scheduled jobs are running.

    What Google Sheets Is Not Good At

    • storing actual backup files;
    • massive machine telemetry;
    • high-frequency logging;
    • long-term enterprise log retention;
    • replacing a SIEM;
    • replacing dedicated backup software.

    If the project grows beyond a few machines or produces large amounts of telemetry, a proper logging database or monitoring platform may become a better fit.

    Security Checklist

    • Use a dedicated spreadsheet.
    • Restrict sharing.
    • Request only required OAuth scopes.
    • Protect refresh credentials.
    • Never store passwords or API keys in the Sheet.
    • Minimize file-path information.
    • Keep local logs protected.
    • Do not make backup success depend on Google Sheets availability.
    • Review who can access the Sheet periodically.

    How This Guide Was Prepared

    This guide deliberately separates backup storage from backup monitoring.

    Google Sheets is used as a lightweight status and metadata ledger, while the actual backup must be written to an independent storage destination.

    The implementation is based on standard Windows scripting concepts and Google’s documented Sheets API and OAuth mechanisms.

    API quotas, OAuth behavior, PowerShell versions, Windows features, and Google Cloud settings can change over time. Before deploying the workflow, verify current official documentation and test it using non-critical data.

    This guide also avoids presenting the workflow as automatically compliant with GDPR, HIPAA, or any other regulatory framework. Compliance depends on the data, organization, access model, agreements, jurisdiction, and complete system architecture.

    Frequently Asked Questions

    Can Google Sheets back up my Windows files?

    Not in the architecture described here.

    The actual files should be copied to external storage, a NAS, cloud storage, or another appropriate backup destination.

    Google Sheets records information about that backup.

    Can I log an entire folder?

    Yes, but logging every individual file may create unnecessary volume.

    For large folders, it may be better to record one summary row containing:

    • number of files;
    • total size;
    • backup result;
    • verification result;
    • duration.

    Do I need PowerShell 7?

    Not necessarily.

    Modern PowerShell is recommended for new projects, but Windows PowerShell 5.1 already supports REST requests and JSON processing. :contentReference[oaicite:10]{index=10}

    Do I need WSL2?

    No.

    This workflow can be built entirely with Windows and PowerShell.

    Can I use a service account?

    Potentially.

    A service account can be appropriate for controlled automation if the spreadsheet and permission model are designed for it.

    User OAuth is often simpler for a script operating directly on behalf of one user.

    Is Google Sheets suitable for hundreds of computers?

    It may become awkward at larger scale.

    For many endpoints or high-frequency telemetry, consider a proper database, centralized logging system, or monitoring platform instead.

    Does a successful SHA-256 comparison prove my backup is safe?

    No.

    It shows that the compared files contained identical data at the time of hashing.

    You should still maintain independent copies and periodically test recovery.

    Is this automatically GDPR or HIPAA compliant?

    No.

    No individual script, API, spreadsheet configuration, or encryption feature automatically establishes compliance.

    Regulated environments require broader legal, technical, organizational, and contractual controls.

    Final Takeaway

    The most important improvement to this project is conceptual:

    Do not use Google Sheets as your backup. Use it to monitor your backup.

    Let Windows or another backup system create the recoverable copy. Then let PowerShell collect useful metadata, verify results, write a local audit trail, and send a concise status record to Google Sheets.

    That gives you a transparent workflow without confusing monitoring with data protection.

    Start with one folder and one backup destination. Verify that you can restore a file. Add Google Sheets monitoring afterward. Once that works reliably, automate scheduling, alerts, retries, and multi-machine reporting.
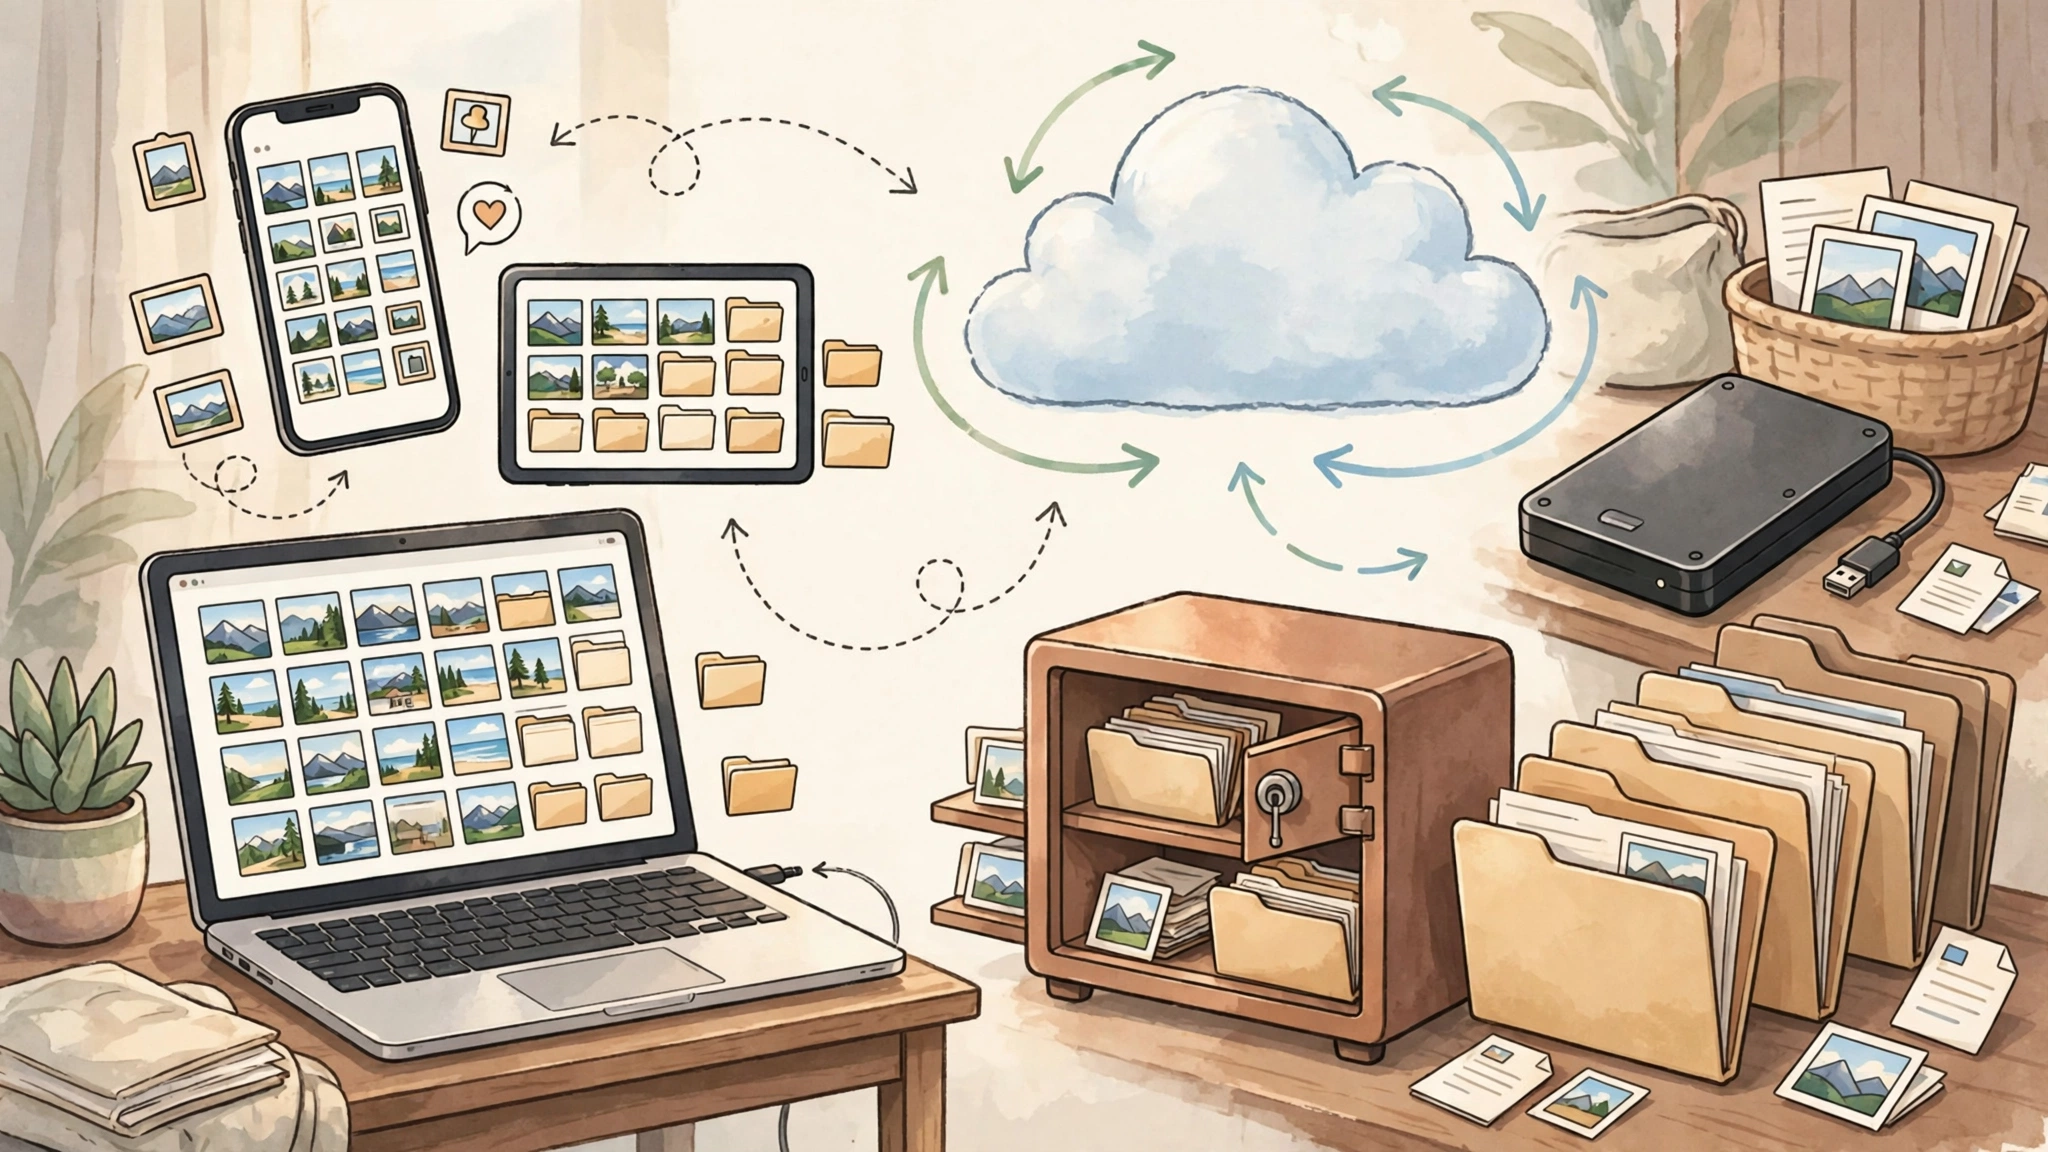
  • A Simple Guide to Backing Up Your Photos, Files, and Devices

    A Simple Guide to Backing Up Your Photos, Files, and Devices

    You probably already know that your photos, documents, messages, and important files should be backed up. The problem is that backup advice often becomes complicated very quickly.

    Terms such as redundancy, retention, encryption, recovery keys, cloud sync, external drives, and the 3-2-1 rule can make a simple goal feel like an IT project.

    This guide takes a simpler approach. The goal is to help you build a backup system that is easy enough to maintain, reliable enough to trust, and flexible enough to grow with your needs.

    Why Simple Backups Are Easier to Maintain

    A backup system is only useful if you continue using it.

    A technically perfect setup that requires constant attention can be less practical than a simpler system that runs automatically and is tested occasionally.

    The best approach is usually to reduce unnecessary decisions and focus on the data that would actually matter if it disappeared.

    What Usually Makes Backups Feel Complicated?

    • Too many choices: several apps, drives, accounts, and settings.
    • Manual routines: needing to remember when to copy files.
    • Unclear recovery: not knowing whether the backup can actually be restored.
    • Mixed storage: personal files spread across devices, cloud services, external drives, and work accounts.
    • Overengineering: creating a system that is much more complex than your real needs.

    A useful backup system should reduce uncertainty rather than create more of it.

    Step 1: Identify What You Cannot Afford to Lose

    Do not begin by trying to back up every file you own.

    Start by identifying the data that would be difficult, expensive, or impossible to replace.

    Make a Simple Digital Inventory

    Create four categories:

    • Devices: laptop, desktop, phone, tablet, external drives.
    • Cloud services: Google Drive, iCloud, OneDrive, Dropbox, Notion, or other services.
    • Important folders: Documents, Photos, Projects, Work, Finance, Personal Records.
    • Older data: old hard drives, SD cards, USB drives, archived photos, scanned documents.

    Then ask:

    If this disappeared tomorrow, what would I genuinely regret losing?

    Those items should become your highest backup priority.

    Think in Terms of Recoverability

    A useful way to prioritize is to ask how difficult something would be to recreate.

    For example:

    • browser cache or downloaded installers are usually easy to replace;
    • work documents may take hours or days to recreate;
    • family photos, original research, contracts, or personal records may be impossible to recreate.

    Focus your backup effort on the data with the highest recovery cost.

    Step 2: Avoid Single Points of Failure

    A backup becomes fragile when the only copy depends on one device, one account, or one service.

    Examples of single points of failure include:

    • all family photos stored only in one cloud account;
    • important documents existing only on a laptop;
    • business files stored only in one shared workspace;
    • old photos stored only on one external drive;
    • a cloud account with outdated recovery information.

    You do not need a complicated enterprise system. You simply need more than one independent recovery path for important data.

    Step 3: Understand the Difference Between Sync and Backup

    This distinction is important.

    Synchronization keeps files consistent across devices or services.

    Backup gives you another copy that can help you recover after deletion, corruption, device failure, or account problems.

    A synchronized folder can still be useful, but it should not always be treated as your only backup.

    Example

    If a file is deleted from a synchronized folder, that deletion may also synchronize to other devices.

    Version history or trash retention may help, depending on the service, but those features have limits and policies that can change.

    For important data, consider keeping an additional independent copy.

    Step 4: Build a Simple Three-Layer Backup System

    You do not need twelve different tools.

    For many people, a simple system can be built around three layers:

    1. automatic backup or synchronization;
    2. a cloud copy;
    3. an offline copy.

    Layer 1: Automatic Device Backup

    Use the backup tools already available on your operating system where they fit your needs.

    For macOS, Apple provides Time Machine.

    For Windows, Microsoft provides built-in backup and recovery options. Because Windows backup features have changed across versions, follow Microsoft’s current Windows support documentation for the version you use.

    The main advantage of built-in tools is simplicity. They are integrated with the operating system and can often run automatically after initial configuration.

    Layer 2: Cloud Storage or Cloud Backup

    Cloud services are useful because they keep an additional copy away from your physical device.

    Examples include:

    • Google Drive;
    • Google Photos;
    • iCloud;
    • OneDrive;
    • Dropbox;
    • dedicated cloud backup providers.

    Before relying on a service, understand:

    • whether it provides sync, backup, or both;
    • how long deleted files are retained;
    • whether version history is available;
    • how account recovery works;
    • whether storage limits apply.

    Layer 3: Offline Archive

    An offline copy can protect against problems that affect both your device and online accounts.

    For example, you can periodically copy your most important folders to an external HDD or SSD, then disconnect it.

    This can help protect against:

    • ransomware;
    • accidental synchronization;
    • cloud account problems;
    • device failure;
    • internet outages.

    The key word is offline. If the drive stays connected all the time, it may be affected by the same problems as the computer.

    Step 5: Choose What Goes Into the Offline Archive

    Your offline archive does not need to contain everything.

    Good candidates include:

    • family photos and videos;
    • important personal documents;
    • tax records;
    • contracts;
    • original creative work;
    • research projects;
    • important exports from online services.

    Use simple folder names that will still make sense years later.

    For example:

    Offline_Backup/
    ├── Family_Photos/
    ├── Personal_Documents/
    ├── Tax_Records/
    ├── Projects/
    └── Account_Exports/

    Simple organization is usually easier to maintain than a complicated archive structure.

    Step 6: Automate the Repetitive Parts

    The more often a backup requires you to remember something, the more likely it is to be skipped.

    Use automation where it reduces repetitive work.

    Examples

    • enable automatic phone photo backup;
    • enable automatic device backups where supported;
    • schedule cloud backup software;
    • use a recurring calendar reminder for offline archives;
    • enable failure notifications for important backup jobs.

    Automation should reduce maintenance, not hide the backup system completely.

    You still need to know whether it is working.

    Step 7: Use a Recurring Backup Reminder

    If your offline backup is manual, create a recurring calendar event.

    For example:

    Quarterly Offline Backup

    • connect the external drive;
    • copy the important folders;
    • confirm the files are present;
    • safely eject the drive;
    • store it separately.

    The exact frequency depends on how quickly your important data changes.

    If you create important files every day, quarterly may be too infrequent. If your archive changes slowly, it may be sufficient.

    Step 8: Test Recovery, Not Just Backup

    A backup is only useful if you can restore from it.

    Testing does not need to involve deleting your entire system or resetting your phone.

    A simple test is enough.

    Simple Recovery Test

    1. Choose a non-critical file that exists in your backup.
    2. Copy or move the original somewhere safe.
    3. Restore the backed-up version.
    4. Open it and verify that it works.

    This checks whether the recovery path is understandable and functional.

    Test Different Layers Occasionally

    If you have several backup layers, test them separately.

    For example:

    • restore one file from the operating-system backup;
    • download one file from cloud storage;
    • open one file from the offline archive.

    You do not need to run a disaster simulation every month.

    You simply need enough confidence that each recovery path still works.

    Step 9: Document Your Recovery Process

    During an actual data-loss event, stress can make even familiar steps harder to remember.

    Create a short recovery note containing:

    • where your backups are located;
    • which cloud accounts are involved;
    • where recovery keys or backup codes are stored;
    • how to restore important files;
    • who to contact if professional help is needed.

    Keep this document simple.

    Do not store passwords or sensitive recovery secrets in an unsecured file.

    Step 10: Secure the Accounts That Protect Your Backups

    A cloud backup is only useful if you can safely access the account.

    For important accounts:

    • use a unique password;
    • enable multi-factor authentication where available;
    • keep account recovery information current;
    • store backup codes safely;
    • review logged-in devices occasionally.

    A password manager can make unique passwords easier to maintain.

    Step 11: Encrypt Sensitive Data When Appropriate

    Not every file requires the same level of protection.

    Consider stronger protection for:

    • financial records;
    • identity documents;
    • confidential business files;
    • sensitive personal information;
    • client or regulated data.

    Full-disk encryption such as FileVault on macOS or supported Windows device encryption can help protect data if a device is lost or stolen.

    External backup drives may also support encryption.

    Remember: encryption creates another recovery dependency. If you lose the password or recovery key, you may lose access to the backup.

    Step 12: Store Recovery Keys Separately

    Do not keep every recovery method inside the same device or account it is supposed to protect.

    Possible approaches include:

    • a secure password manager;
    • a printed copy stored in a safe place;
    • a secure physical location separate from the primary device;
    • a trusted recovery contact where supported.

    The goal is to avoid situations where losing one phone or account also removes your ability to recover everything else.

    Step 13: Back Up Important App Data

    Some applications store important information in their own cloud systems or proprietary formats.

    Examples include:

    • note-taking apps;
    • password managers;
    • messaging apps;
    • journaling apps;
    • finance software;
    • project-management tools.

    For important applications, ask:

    • Does this app back up automatically?
    • Can I export my data?
    • What format does the export use?
    • Can I open that export without the original service?

    If an application contains irreplaceable information, periodically exporting that data may be worthwhile.

    Step 14: Back Up Your Phone

    Phones often contain some of the most personal data we own.

    Depending on your device, backup options may include:

    • iCloud backup;
    • Google account backup;
    • photo and video cloud backup;
    • computer-based backups;
    • app-specific backup systems.

    Do not assume every application is included in the system backup.

    Messaging apps and authenticator apps may have their own recovery methods.

    Check the official documentation for the apps that matter most to you.

    Step 15: Back Up Social Media and Online Accounts

    Many online platforms provide data export tools.

    These exports can preserve things such as:

    • posts;
    • photos;
    • messages;
    • account history;
    • profile information.

    If an account contains years of personal content, downloading an archive occasionally can provide an additional copy outside the platform.

    Export options and file formats vary by service, so use the platform’s current official instructions.

    Step 16: Do Not Reformat Your Only Archive

    When maintaining offline backups, avoid destroying the only known-good copy simply to create a new one.

    If possible, keep the previous backup until the new backup has been completed and checked.

    This gives you a fallback if the new copy fails or is incomplete.

    Step 17: Know When Your Setup Is Good Enough

    A backup system does not need to preserve every temporary file forever.

    Focus on the data that actually matters.

    A reasonable personal setup might look like this:

    • automatic phone backup;
    • important documents synchronized to cloud storage;
    • local device backup;
    • periodic offline archive of irreplaceable files;
    • occasional recovery testing;
    • multi-factor authentication on important accounts.

    If that system runs consistently and you understand how to recover your files, it may already be enough.

    A Simple Backup Checklist

    Use this checklist to review your setup:

    • Do I know which files are irreplaceable?
    • Do those files exist in more than one place?
    • Is at least one copy independent of my primary device?
    • Do I have an offline copy of my most important data?
    • Are my important cloud accounts protected with multi-factor authentication?
    • Do I know where my recovery keys are stored?
    • Have I successfully restored a test file?
    • Can I export important data from the apps I depend on?

    If you can answer yes to most of these questions, your backup strategy is already stronger than simply trusting one device or one cloud account.

    How This Guide Was Prepared

    This guide focuses on practical personal backup principles rather than recommending one universal backup product.

    Backup features, cloud retention periods, pricing, operating-system tools, and app export options can change over time.

    Before configuring a specific product or service, check its current official documentation.

    Frequently Asked Questions

    How often should I back up my phone?

    For most people, automatic backup is easier to maintain than manual backup.

    The right frequency depends on how much important data you create and how much data you are willing to lose if the device fails.

    If your phone contains important daily photos, documents, or messages, automatic daily or continuous cloud backup may be appropriate where supported.

    Is Google Drive or iCloud enough?

    They can be important parts of a backup strategy, but relying on a single service creates a single recovery dependency.

    For irreplaceable files, an additional independent copy—such as an external drive—provides another recovery option.

    What is the cheapest reliable backup setup?

    There is no fixed price because storage requirements vary.

    A simple setup can often use:

    • built-in operating-system backup tools;
    • cloud storage you already use;
    • one external HDD or SSD for offline copies.

    Check current storage prices and choose capacity based on your actual data size rather than buying a specific product only because it is popular.

    Can I back up without an internet connection?

    Yes.

    External HDDs, SSDs, local NAS devices, and other local storage options can create backups without an internet connection.

    An offline copy is particularly useful because it is independent of your cloud account and internet connection.

    Do I need the 3-2-1 backup rule?

    The 3-2-1 principle is a useful framework: multiple copies, more than one type of storage, and at least one copy stored separately.

    You do not need to follow it mechanically if that makes your system too complicated.

    The important idea is avoiding a situation where one failure can destroy every copy of important data.

    Final Takeaway

    Backing up your digital life does not need to feel like managing enterprise infrastructure.

    Start with the files that matter most.

    Keep more than one copy.

    Use automatic tools where they reduce repetitive work.

    Keep an offline copy of irreplaceable data.

    Protect the accounts that give you access to your backups.

    And occasionally restore a file to make sure the system actually works.

    A backup strategy succeeds when it is simple enough that you continue using it and reliable enough that a failed device does not become a disaster.